@State property in SwiftUI
It’s simply a property wrapper used by SwiftUI to managed its view’s appearance or “state”.
Property Wrappers?
You can think of property wrappers as additional behaviours and functionalities added to a property to do more. You can think of them as weak or @IBOutlet but more powerful.
Property wrappers play a huge role when it comes to managing your views in SwiftUI and are tightly integrated. We are going to be focusing on one of them called @State.
What is it?
It looks something like this:
@State private var iLovePizza: Bool = trueThis property is used inside a view and you can use it to read and write values, for example on a button click or any other user actions/events.
Now you might be thinking how one can just change the value of @State property especially when Views are immutable in SwiftUI. This is where property wrappers shine!
By annotating a property with @State you are telling SwiftUI to manage the properties’s storage for us. This gives us access to read and write to a property, supports binding and automatically invalidates the associated view’s appearance and recomputes the body when the properties’s value changes. These functionalities are automatically synthesized so you don’t have to code everything yourself, like with Storyboards/ViewControllers.
Lets look at an example.
@State private var iLovePizza: Bool = truevar body: some View {  VStack {
    if iLovePizza {
      Text("I Love Pizza 🍕")
    } else {
      Text("🍕 = Nada")
    }

    Button("Toggle") {
      iLovePizza.toggle()
    }
  }}
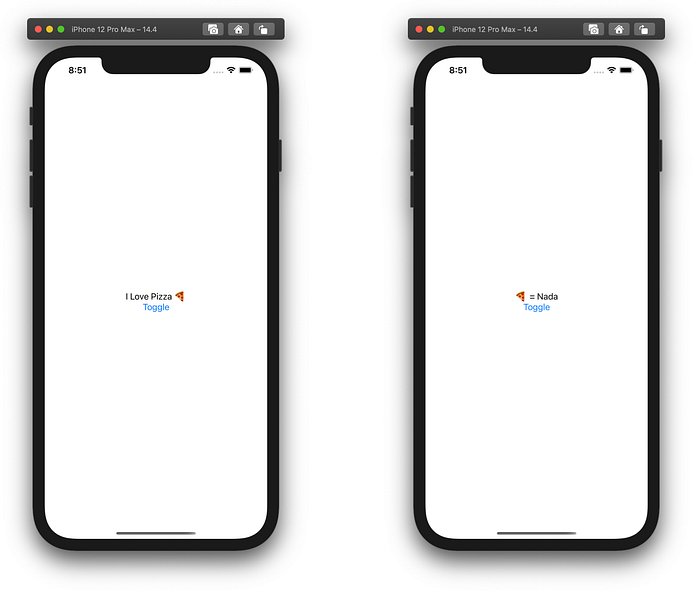
In the above code we are simply presenting a Text view with a different string based on boolean value in iLovePizza. The @State property wrapper is added to the iLovePizza property. The view now depends on the state of iLovePizza, and is automatically updated when iLovePizza is toggled on selection of the Toggle button.
You may notice that the property is made private and this is done on pourpose as you should only access a state property from inside a view’s body, or from methods called by it. For this reason, its good practice to emphasize your state properties as private, to prevent the users of your view from accessing them.
Here’s how that looks:

Binding
@State private var name: String = ""var body: some View {
   VStack(alignment: .leading) {
      Text("My Name is \(name)")
      TextField("Enter your name", text: $name)
   }.padding()
}
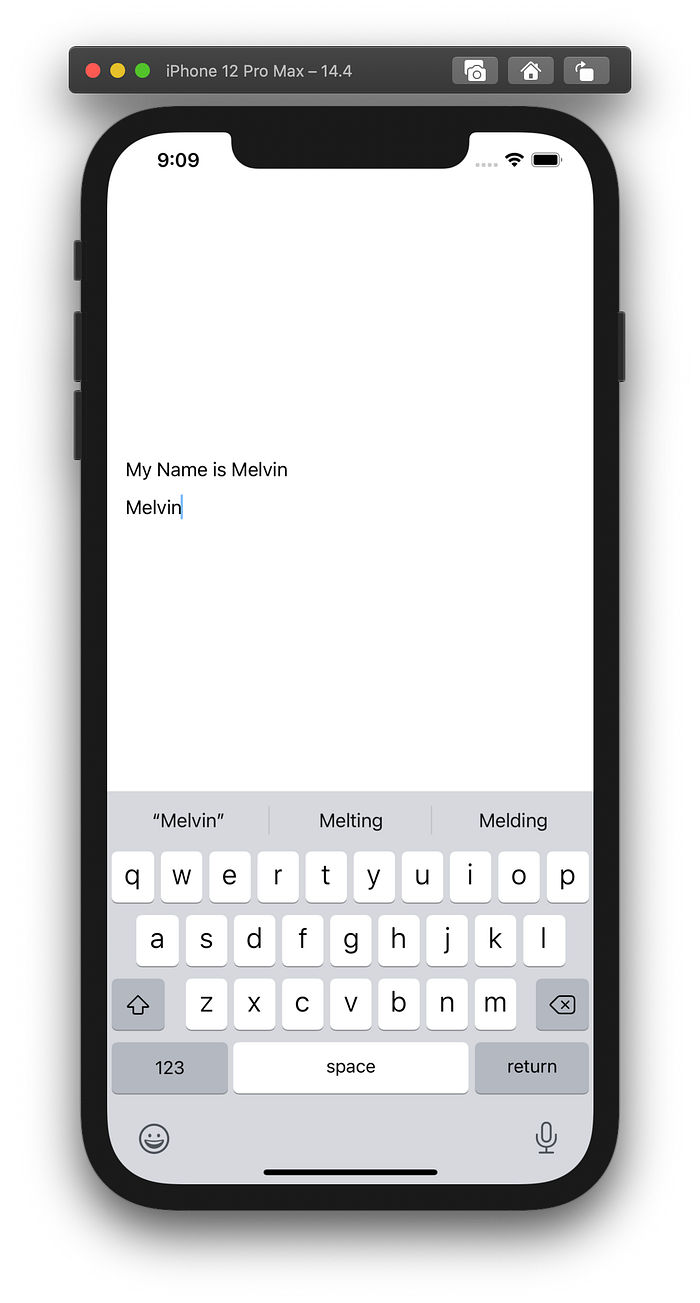
Here’s how that looks:

As you can see we are doing something different here. We are binding the property name to a TextField by passing it as $name. What this means is whenever the text in the TextField changes, so does the value of the name property which then cause the view to update, updating the value in the Text view. This is called binding and as the name suggests its binding a value to something.
Thats it! Have a go at using the @State property wrapper because it so cool and you will love it.
